
 EN
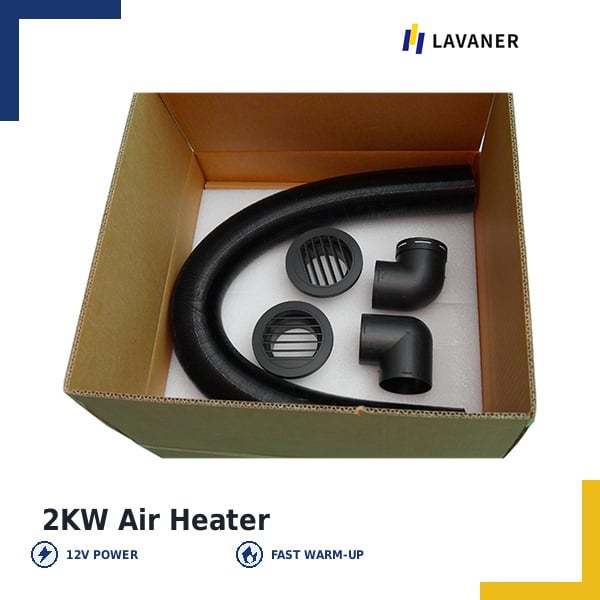
A diesel air heater can extend the usable season of a camper van, improve comfort in an RV or provide independent cabin heating in a work vehicle. But safe operation depends heavily on installation. Heater size, fuel supply, combustion-air routing, exhaust location and electrical protection must be considered as one system. The points below are a planning checklist, not a replacement for the installation instructions supplied with the exact heater model.
Choose the Heater and Plan Warm-Air Distribution
Start with the vehicle's heated volume, insulation and expected climate. A 2 kW unit is often appropriate for smaller, well-insulated cabins, while a 5 kW unit may suit larger or colder applications. The correct choice also depends on the heater's control range and the planned air distribution system.
Before mounting, identify where warm air will enter the cabin, where return air will circulate and how ducts can be routed without excessive bends or restrictions. Avoid locations where stored items can block grilles. Installation and mounting locations must meet the heater manufacturer's clearance, orientation and fire-safety requirements.
Fuel, Combustion-Air and Exhaust Routing
Use the specified fuel line and fittings, secure them against movement and keep them away from hot or moving vehicle parts. The fuel metering pump must be installed in its prescribed orientation, with line lengths and height differences within the model's limits. There is no single fuel-line slope rule that applies to every heater and pump configuration.
Combustion air must be drawn from a suitable location outside occupied spaces. The exhaust outlet must also discharge outdoors, away from windows, doors, air inlets and other points where fumes could re-enter the vehicle. Protect nearby heat-sensitive components and follow the manufacturer's requirements for pipe supports, routing and condensate drainage. Fuel leaks and exhaust leaks must be ruled out before the heater is put into service.
12 V/24 V Power, Wiring and Controller Placement
Verify the heater's rated system voltage before connecting it. Use the specified cable cross-section, fuse and protected power supply, and route the harness away from hot exhaust parts, sharp edges and potential abrasion. Incorrect cable sizing or poor connections can cause excessive voltage drop during ignition, even if the heater appears to run normally after starting.
Position the controller where it is easy to access and can sense cabin conditions appropriately, if the chosen controller uses a local temperature sensor. A separate auxiliary battery may be useful in a camper, but it is not a universal installation requirement; the electrical arrangement should match the vehicle and heater documentation.
Final Checks and Common Installation Errors
Before the first extended run, inspect all fuel joints, fasteners, mounting seals, air paths and electrical connections. Confirm that the warm-air outlet cannot be obstructed and that the combustion-air intake cannot draw in exhaust fumes. Test the heater through its start-up, normal operation and shutdown sequence as instructed by the manufacturer.
Common problems include poorly supported fuel lines, incorrect pump orientation, long or crushed ducts, insufficient cable size and exhaust positioned too close to openings. A suitable carbon monoxide alarm is an essential additional safeguard for occupied vehicles. For vehicle-specific builds, LAVANER supplies air heaters and installation components, including T5/T6-related kit options; always confirm kit compatibility with the exact vehicle and heater version.