
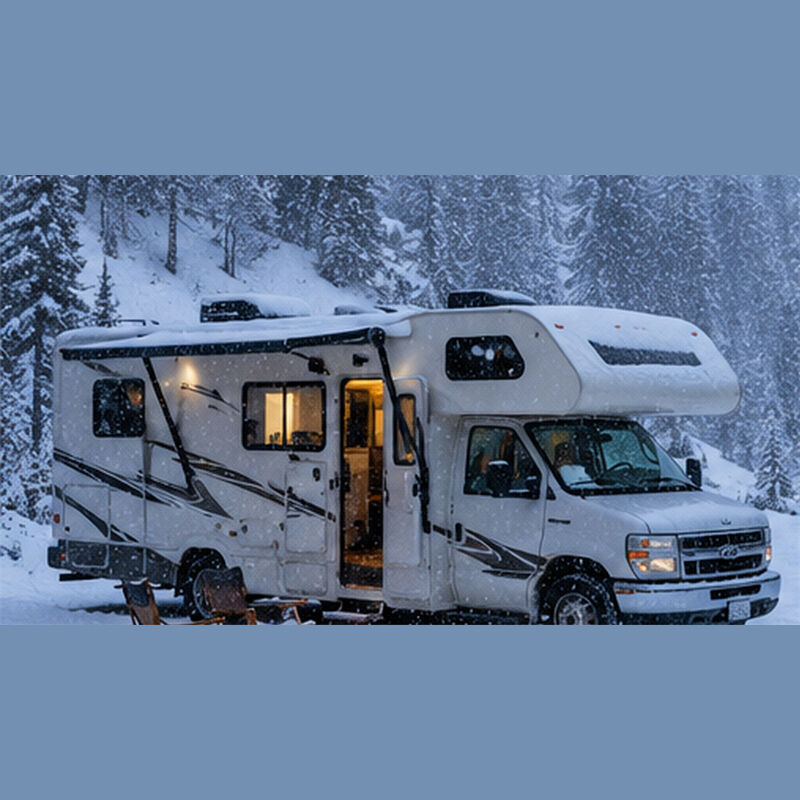
A hydronic diesel heater may appear to be running while still delivering little or no heat to the cabin, workshop, or coolant circuit. In many cases, this does not mean the heater itself has failed. The problem is often related to coolant flow, air trapped in the pipework, incorrect control settings, pump operation, or restricted heat transfer.
Before replacing parts, work through the system in a clear order. Stop using the heater immediately if you notice fuel leakage, exhaust leakage, heavy smoke, burning smells, or repeated safety shutdowns.
Check Coolant Level and Remove Airlocks
A hydronic heating system transfers heat through circulating liquid. If the coolant level is too low or air is trapped in the circuit, the burner may operate normally but the heat will not reach the radiators, fan coils, or underfloor loops.
Check the coolant level: Inspect the expansion tank or reservoir when the system is cold. The coolant level should normally sit between the minimum and maximum marks. Top up only with the coolant mixture recommended for the system. Straight water should not be used in freezing conditions because it can freeze, expand, and damage hoses or the heat exchanger.
Look for leakage: Check hose joints, clamps, fittings, the heater body, and low points of the pipework. Wet marks, white residue, a sweet smell from glycol-based coolant, or a slowly dropping expansion tank level can all indicate leakage. Repair any leak before bleeding and restarting the system.
Bleed trapped air: Air pockets can stop circulation and cause gurgling sounds, uneven radiator temperature, or rapid overheating. Open bleed screws at high points one by one until coolant flows without bubbles. After bleeding, check the coolant level again and refill if necessary. In some systems, running the circulation pump briefly without combustion can help move trapped air toward the bleed points.
Check Thermostat Settings and Sensor Connection
The heater will only produce heat when the controller receives the correct temperature signal and calls for heating. A wrong setpoint, schedule, or sensor position can make the heater shut down early or stay in standby mode.
Verify the set temperature: Set the controller clearly above the current room temperature. For example, if the cabin is 15°C, set the target temperature to around 22-25°C for testing. Also check whether a timer, economy mode, or frost-protection mode is overriding the manual setting.
Check sensor location: The room sensor should measure the general living or working area, not the heater outlet, a hot water pipe, a window draft, or direct sunlight. If the sensor is too close to a heat source, the controller may think the room is already warm and reduce heater output too soon.
Inspect the wiring: Loose plugs, damaged wires, or corroded terminals can interrupt the sensor signal. If the system manual provides a resistance value for the temperature sensor, check it with a multimeter and compare the reading with the specified range.
Test the Water Pump Power Supply and Circulation Flow
If the circulation pump is not moving coolant, heat will remain inside the heater and the rest of the system will stay cold. This can also lead to overheating protection or repeated shutdowns.
Listen and feel for pump operation: With the thermostat calling for heat, place your hand on the pump body. A working pump normally produces a light vibration or low humming sound. If there is no vibration, the pump may not be powered, may be seized, or may be blocked by debris or ice.
Measure pump voltage: Check the voltage at the pump terminals and confirm it matches the system voltage, such as 12V or 24V DC. If voltage is present but the pump does not run, the pump may need to be replaced. If no voltage is present, inspect the fuse, relay, connector, and wiring harness.
Compare inlet and outlet temperatures: After the system has been running for several minutes, the outlet pipe should become warmer than the return pipe. If the outlet becomes very hot while the return stays cold, circulation may be restricted. If both pipes stay cool, the heater may not be transferring heat or may not be firing correctly.
Clean Restrictions That Reduce Heat Transfer
Scale, sludge, old coolant, or combustion-side carbon buildup can reduce heat transfer. The heater may run for a long time, but the coolant temperature rises slowly and the delivered heat remains weak.
Identify blockage symptoms: Common signs include slow warm-up, repeated high-temperature shutdown, uneven heat across radiators, dark or dirty coolant, or reduced flow through the system.
Flush the coolant circuit: If the system design allows it, flush the heater and pipework in the reverse direction of normal flow. Use only cleaning products compatible with the heater materials and coolant system. Strong acids or unsuitable chemicals may damage aluminum, seals, or fittings.
Inspect the combustion side when needed: Carbon buildup can be caused by poor fuel quality, incorrect fuel delivery, blocked intake or exhaust routes, or long-term low-output operation. Cleaning the burner, fan, and combustion chamber usually requires disassembly and should be done by a trained technician if you are not familiar with the heater structure.
Most no-heat problems can be narrowed down by checking coolant level, airlocks, controller settings, pump operation, and flow restrictions in order. If the heater still does not deliver enough heat after these checks, contact a qualified service technician or Lavaner support before continuing to operate the system.